How to add a blog post
∗ This process requires a custom blog template.
Learn how to add a blog post to your website from the experts at Optometry Marketing Services.
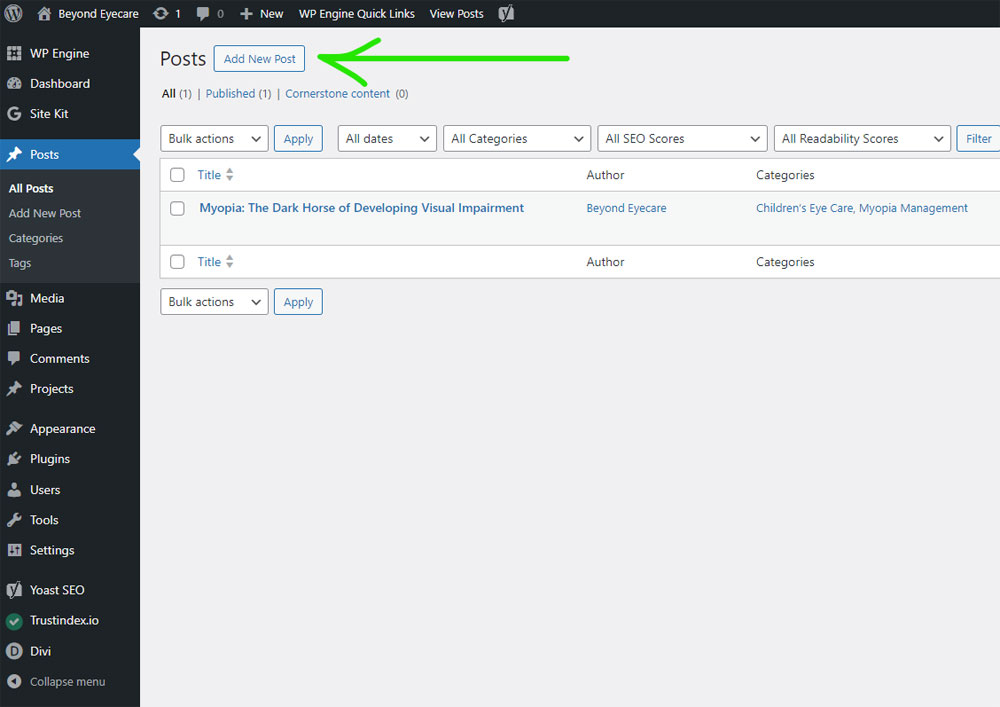
Add New Post
To start creating your blog post in WordPress, log into your dashboard and navigate to Posts > Add New Post.
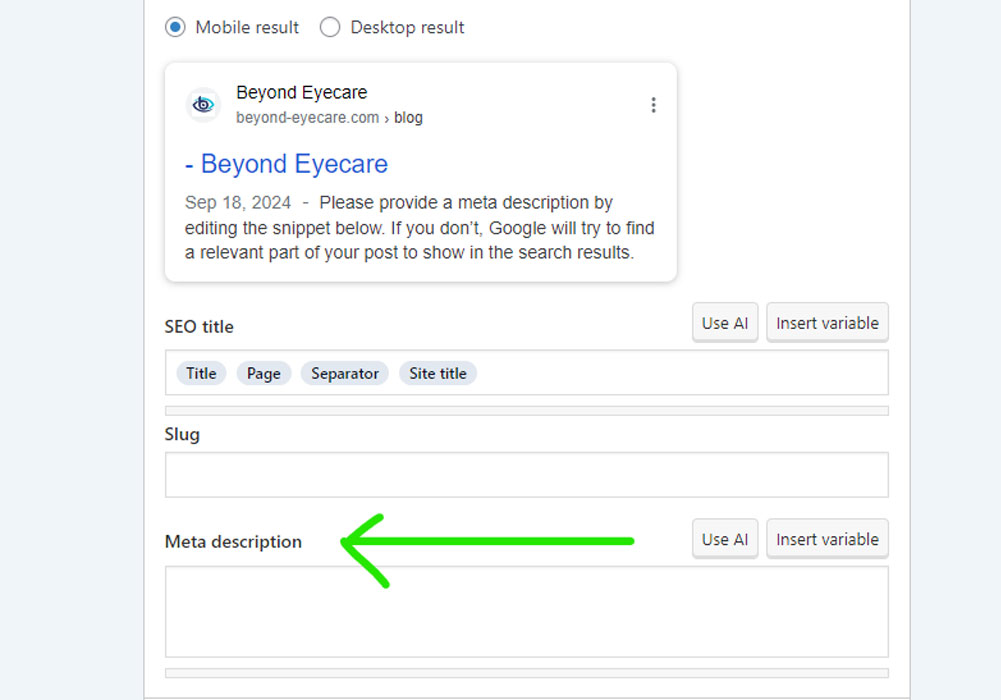
Add a meta description
A meta description is a brief summary of your blog that appears in search engine results. It helps users understand the subject of the blog before clicking. A meta description should be engaging, informative, and no longer than 160 characters, as this ensures the entire description shows without being cut off.
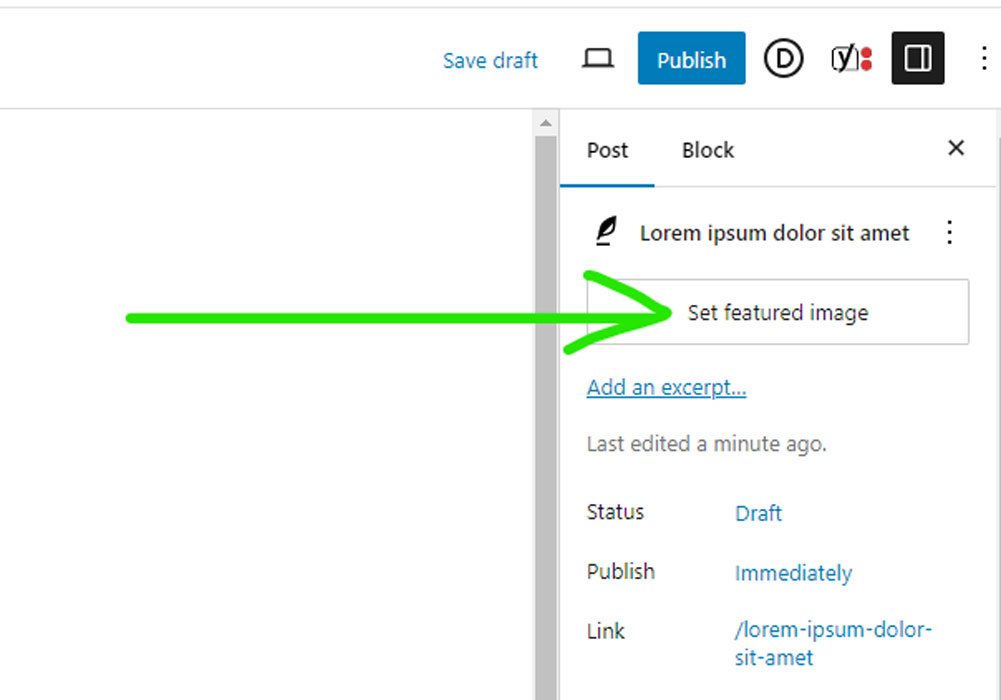
Set featured image
Reduce the pixel size and dimensions of images to make them smaller without sacrificing quality.
We recommend keeping your featured image (hero image) in a landscape/horizontal rectangular shape with a width of around 800 pixels. (Images with a width of less than 400px might look pixelated or blurry.)
Keep the size of the image under 300 kilobytes (KB).
Oversized images will slow down your website speed.
In this blog template, your featured image is set as a background image and does not need any alt text.
Set Author and Categories
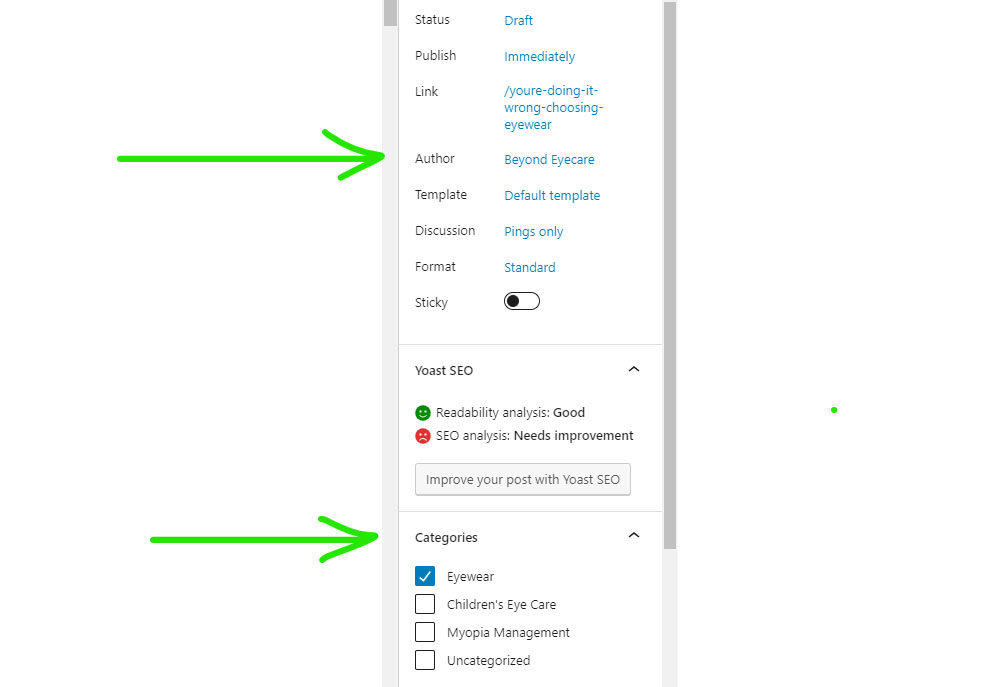
Choose a doctor’s name in the “Author” dropdown. If you don’t see a doctor listed, please contact our support team so we can add them as a new user.
To organize your posts by categories, go to the “Categories” section in the right-hand sidebar. If the appropriate category doesn’t already exist, click “Add New Category.” A text box will appear where you can type the name of the new category.
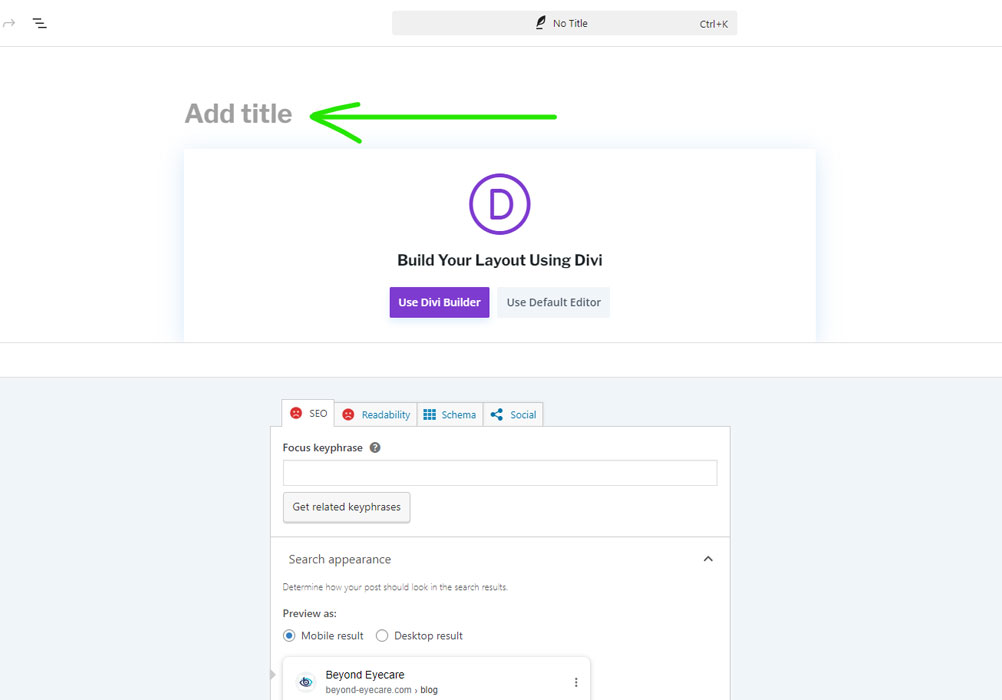
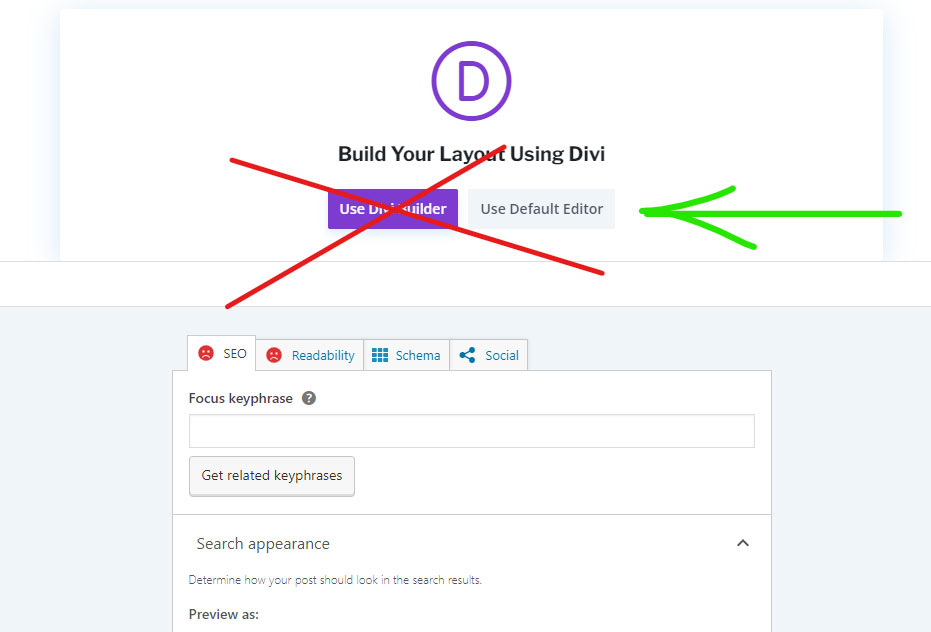
USE DEFAULT EDITOR!!!
Do not use the Divi Builder to add blog posts. We have a pre-built blog template with a professional layout to ensure consistency across all posts.
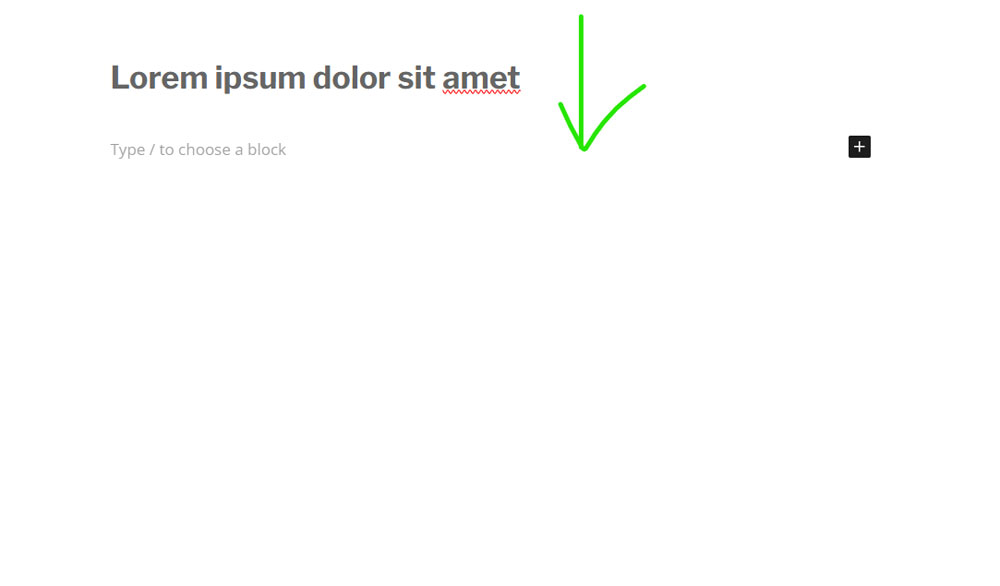
Add your content
Simply copy and paste the text and then adjust the format as needed. The template already has headings and body text preformatted, including font-family and font-size settings.
Preview, Save Draft, & Publish
The final step in the process is to publish your blog. First, select “Preview in a new tab” under View to review how your blog will look when it is live. If you’re not ready to publish the blog, choose “Save draft” to save your progress and return to it later.
Once everything is ready, click “Publish” to make your blog go live. To schedule a blog post to publish on a later date, click “Immediately” next to “Publish” and select a date and time on the calendar that appears.


